Welp, it's been a while.
I got a part time job in Borough
I moved out of Camden.
I moved into Elephant & Castle.
I moved out of Elephant & Castle.
I crashed in a friends' junk room in East Ham.
I finally found a place I can afford, by Burgess Park. I move in on Wednesday. It's been nuts. Trying to get any kind of making going when you don't have a firm base to jump off from is difficult, because when you're constantly moving and holding down a job your work clothes and your pillow tend to take priority over a bag of porcelain. Great sympathy for all the other creative nomads trying to make their way in the world while holding down a real job.
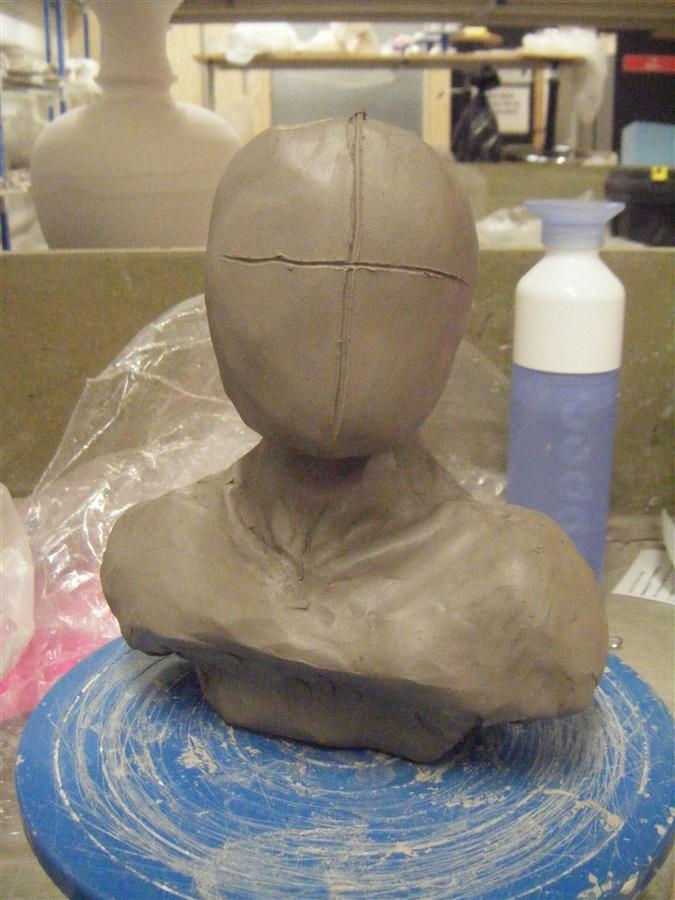
This was the last time I touched clay:

Some of my CSM class took over Do Shop in Covent Garden a couple of months ago and I went along to drink free beer and have a play on the wheel. I miss it so much!
Other than that, I managed to make this awesome baby quilt from recycled fabrics:


It's for sale, and will be going up on Ebay very soon with a starting price of £30. Bargain! Speaking of which, I've got a fair amount up for sale at the moment, mainly old art bits and bobs, but also some uncut sewing patterns that I'm clearing out. Go have a look, because I'm desperate for cash. I'm only working part time at the moment and boy do I feel it.
Other than that, I got accepted onto a craft fair in Kentish Town, but had to drop out because I didn't have time to make anything really. I made my own dressing gown but I can't find a photo right now.
Action plan for the future:
I got a part time job in Borough
I moved out of Camden.
I moved into Elephant & Castle.
I moved out of Elephant & Castle.
I crashed in a friends' junk room in East Ham.
I finally found a place I can afford, by Burgess Park. I move in on Wednesday. It's been nuts. Trying to get any kind of making going when you don't have a firm base to jump off from is difficult, because when you're constantly moving and holding down a job your work clothes and your pillow tend to take priority over a bag of porcelain. Great sympathy for all the other creative nomads trying to make their way in the world while holding down a real job.
This was the last time I touched clay:
Some of my CSM class took over Do Shop in Covent Garden a couple of months ago and I went along to drink free beer and have a play on the wheel. I miss it so much!
Other than that, I managed to make this awesome baby quilt from recycled fabrics:
It's for sale, and will be going up on Ebay very soon with a starting price of £30. Bargain! Speaking of which, I've got a fair amount up for sale at the moment, mainly old art bits and bobs, but also some uncut sewing patterns that I'm clearing out. Go have a look, because I'm desperate for cash. I'm only working part time at the moment and boy do I feel it.
Other than that, I got accepted onto a craft fair in Kentish Town, but had to drop out because I didn't have time to make anything really. I made my own dressing gown but I can't find a photo right now.
Action plan for the future:
- stop moving house
- get studio space or microkiln
- go to Vienna/Graz for museums/friend
- keep believing I can actually do this


.JPG)