Sunday 30 December 2012

Muddy rose garden cakes

It won't stop raining, the sky is dark 99% of the time, and everywhere I look the ground is turning into a quagmire. I hate this time of year when the sky is clear and it's frosty. Well, I hate this more. It's miserable, and I'm pretty miserable too.

In between the wallowing and the wailing and the procrastinating (my dissertation is due on the 8th of Jan) I turned on the TV to catch one of those cake shop programs, you know, the ones that have got really popular recently. This one was about a shop in Brighton where they make amazing cakes out of chocolate, and this episode showed an apprentice making roses out of white chocolate. They were pretty amazing, and a very simple technique, so I made some of my own out of fondant.


The technique is thus:
-roll a small piece of fondant/gum-paste/modelling chocolate/porcelain into a ball
-flatten it out into a circle
-roll that circle up to create the centre of the rose
-make more petals the same way and squish them onto the edge of the centre

The bottom of the rose will have a little peak on it, you can cut this off with a sharp knife before you put it on a cake. I made some leaves too.


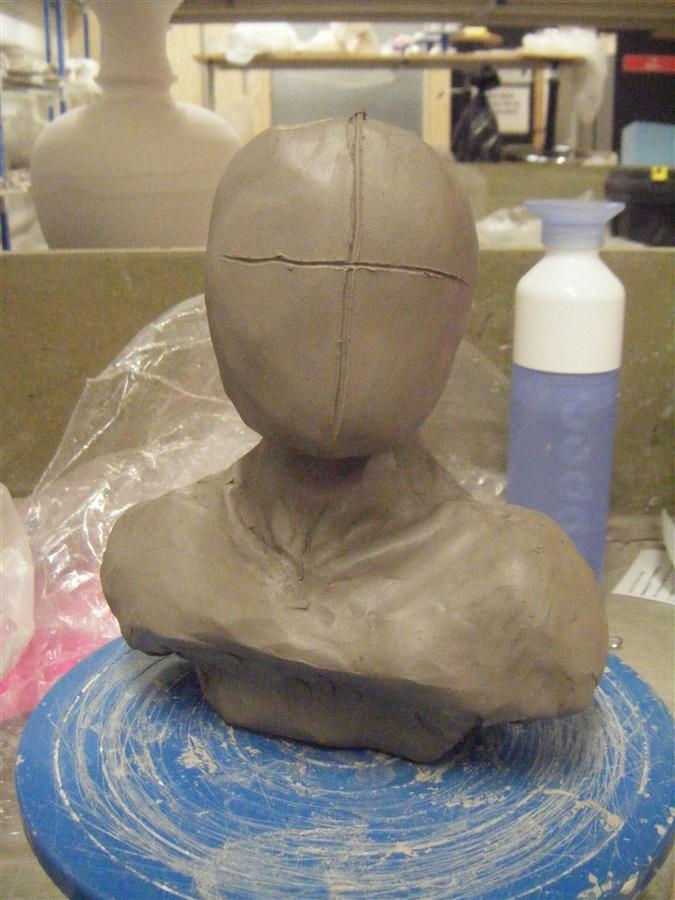
The icing here is a buttercream made with about a 60:40 ratio of icing sugar to cocoa powder, and they're just boring vanilla cupcakes underneath. Pretty though! I'm going to try this technique in clay when I get back in the studio, definitely.

Wednesday 19 December 2012

Chalkboard Christmas Tree

Because I live in a small flat, am broke, and will be at some point returning back to my parents' house for Christmas, I didn't really see the point in getting a Christmas tree. A live one would be neglected and a fake one would just be another thing to pack up when I move out of here. But without decorations my poor little flat was not getting in the seasonal spirit at all, so I came up with this hack.

All you need is a chalkboard, some chalk, led lights, and some tape. There's a chalkboard painted on the wall in my kitchen, and I already had some led lights that I'd stuck up round my bathroom mirror, so I just peeled them off.

Now you just draw the outline of your tree in chalk, and stick up the lights with liberal amounts of sticky tape.


Sorry for the blur, my camera was struggling to overcome the crap lighting in my flat. 

Then you just put in your batteries or plug in your lights, and voilà! One lit Christmas tree.


Here's another angle showing the amount of tape I used:

And that's it. Very quick, super easy, good option for anyone who has no space, time, or money to be messing around with a big tree. There's nowhere to really put presents, but that's okay because I'm not going to be here on Christmas day.

You could probably also do this on a pin board marking out the tree with ribbon or coloured tape. Be careful not to pin through the wires though!

Friday 16 November 2012

Character Building

Earlier this week I made my first ever large head sculpture, following along with a how to sculpt faces book. For a first attempt it was okay, but I wasn't happy, partly because it looked just like a smaller head I'd made in porcelain the day before and I was starting to worry that maybe this was the only face in the world I could sculpt.

So yesterday, over the course of 5 hours, I tried again. The material is just the standard buff clay that we have in the workshop, nothing fancy. Here is a basic step by step of how to make a character bust. The most fun in this project clearly comes from seeing how many styles of headdress you can make from a j-cloth, as you will see.

Start by modelling the shape of the bust and neck, paying attention to details like collar bones and trapezius muscles.


Gouge out indents with your thumbs for eye sockets, then add blobs of clay for mouth and nose.
Add small coils of clay for brows and cheek bones. Blend the cheek bones in well. This photo shows the left cheekbone before blending.


Sculpt in the detail on the nose and then the mouth.


Add blobs of clay for eyes, blend in.


Open up the eyes with a tool, dragging the clay up to form an upper lid...

...then add small blobs of clay and blend to reform the curve of the eye.

Okay, so the face is looking pretty good right now:


But because I don't want to make a plaster copy or mould of this piece, I just want to fire it, I need to hollow her out so she dries more evenly and doesn't blow to smithereens in the kiln. It's possible to hollow out the bottom of the bust by carefully tilting the piece up, but you can't get inside the head this way. So it's lobotomy time!


Go to town with a loop tool, reciting the phrase "Chilled monkey brains" as you do.

Reattach, and it's like it never happened. Let's get working on the hair. Coils can be attached around the scalp to form the hair line, and then flat pieces of clay added for any hair that lies flat on the scalp. At this point I noticed her head was drooping a bit and compressing the neck, so I tried to support it with a blob of clay under the chin. Plaits and hair tendrils can be made from coils, but they will be extremely delicate.


She's looking a little plain, so let's add some details to tell us a little more about her character, like a circlet and the edge of her dress.


Give your character a name- this gal is Cassandra- and she's done:

Monday 5 November 2012

Autumn food = best food?


        As anyone who's hung out with me for more than 5 minutes will realise, I love food. Autumn is a great time for food because suddenly the weather gives us all carte blanche to eat warm, comforting things like mashed potato and sausages, or spicy bonfire soup. For me, it means a new season of baking- the heavy season of cinnamon and ginger and other yummy things that last a long time and so don't have to be eaten with the urgency of scones with cream and fresh cut strawberries.


I made my first ever pumpkin pie! Well, actually, it was half butternut squash, because I didn't get that much pumpkin from my little Jack-O-Lantern.

(Just like last year, I cobbled together a Halloween costume from existing clothes. This year I was a unicorn farmer)


I decorated the top with flaked almonds before I put it into the oven because I thought the plain pie didn't look that appealing. No pie dish? Improvise like me and use the lid of a casserole dish.

The inner pumpkin doesn't brown, so you still get the lovely orange tone. It's all very rustic looking but I still like how it looks and definitely how it tasted! The recipe I used is here, but a) that website is horribly designed, and b) when I next make this I want to make it without the evaporated milk because it makes me a bit ill (lactose intolerance), so I may post my own recipe/how to in the future.


I thought I had a picture of the set-up I used to tote it to uni, but it turns out I don't, which is a shame because it was adorable and practical. What you do is cover the top of the pie in foil, then wrap a clean tea-towel over the top of that, tucking the corners under. Then place that in the middle of another tea-towel, fold 2 diagonally opposite corners across and tie them over the pie, then take the remaining 2 corners and tie them into a handle. I'll take a pic when I make my next one, I promise!

The other thing I have been making is gingerbread:

IKEA do this adorable cutter set with many forest animals of various sizes including a moose, a fox, a squirrel, and... um... a snail. I also made hearts and teapots.


This poor teapot fused with a fox and ended up with a wonky top, so I made that lemon into lemonade with some icing work. I made the dough at my parents' house (I'm really broke at the mo and didn't have cash for all the ingredients) using Saint Delia's recipe from her book of cakes, which I definitely recommend. The dough is easy to work, comes out of the oven at the perfect hardness, and tastes really good.

Lastly, I made my flatmate a little house with a template I made myself. Gingerbread architecture is so fun!

There wasn't much dough left over (because I kept eating it raw) which is why he ended up with such a tiny house. But it meant I could make it look like a snowglobe with the addition of a pyrex bowl over the top and a sprinkling of icing sugar snow.


There will be more baking soon, but right now I am more worried about opening my other "oven" tomorrow- kiln 10. Especially as it went on with a really wonky bottom kiln prop.


It's hard to see from that pic, but the whole thing is literally being held up by a tiny bead of glaze. And that's all my work on the bottom shelf...

Tuesday 16 October 2012

First batch of maquettes- glazed

You have not known panic until 5 minutes before a tutorial you've stuck your hand in a still hot kiln, dragged maquettes out, hastily arranged them on a wooden board, and carried them 300m down a corridor obstacle course inhabited by 100 people who are completely pre-occupied and have no idea of personal space or the delicateness of ceramics.

And that's what I had to do today, lest I turn up to a tutorial with nothing but a sketchbook with a quick scribble of a zombie shopper in it, and a slightly larger sketchbook with a handful of newspaper clippings and photos from the Ikea catalogue slapped in.

So here we go, 3 weeks into the year and I have glazed maquettes. As usual, apologies for poor photography quality.


"Día de los mermaid" just got a coat of good gloss, but I think I have the consistency a bit off, which is what happens if you're rushed and lazy and mix powdered glaze by eye with a whisk.


"Pig Headed" is painted with underglaze. I am having a hard time getting that stuff right- it streaks, it clumps, it smudges as soon as it dries, the colours you mix in the print room can turn out completely different- but I feel that Pig Headed came out truest to what I was trying to achieve.


Unfortunately some of the colours on other pieces did not come out as well.

"Red Headed Hussy" ended up with a skin-tone reminiscent of an old over mud mask...
...but I am totally in love with the fiery colour of her hair! 


The seal kept all of its detailing through painting and glazing, but I feel something about the expression just got lost.


I'm really happy with the background detail though. Just need to find a good black lustre that I can oil slick the water with!


"Sunday Morning" is probably the maquette I'm most happy with- I love how the bedspread came out and it seems to have got the best application of glaze. Not too big on Jacques' skin tone though, I feel he ended up way too dark. Obviously the black underglaze is way more potent than I thought.


Again, I think some of the expression got lost in the firings, but Percy and Jacques still have plenty of character so they're a good jumping off point for future pieces.

Lastly, "Mindless Consumer #1", a.k.a zombie on a sofa. He's in bisque and is only here because I was naughty and snuck him into a glaze firing at the bottom.


Detail:

Yes, that's a little remote control next to him. It's hard to tell from the photo, but it even has little buttons.
And here's how he's supposed to be set up- opposite his zombie box!

The opiate of the masses, of course.

So where do I go from here? I think the plan, for now, is to make some moulds- not of the people, but of the backgrounds. I'm going to start with a bed and a sofa, and go from there, using them as bases to stage scenes on.

Second priority, sorting out those damn colours.