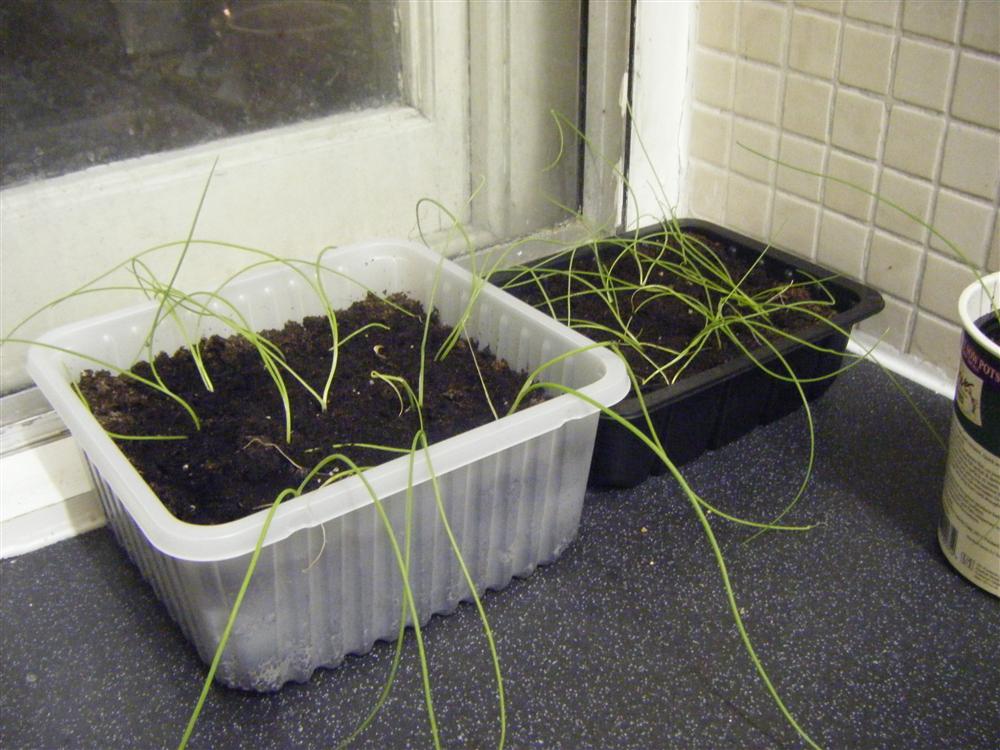
Growing things is awesome (and an excellent lesson in patience for twitchy people like me). Growing things you can eat? Even better. Right now on my kitchen counter I've got some seriously leggy spring onions:


I have no idea if these will actually mature or not, especially as we head into winter and lose more and more light. So I wanted to grow some other things. Enter: sprouting. I did some sprouting in my first year of uni in halls with some GMO soy beans, just to see if they would grow (they did, but they didn't taste that good). This year, with Whole Earth hippy supermarket just down the road, I have access to all kinds of grains that are for sale by weight. Today I bought some linseed and hemp-seed.
This is what you will need to get started sprouting:

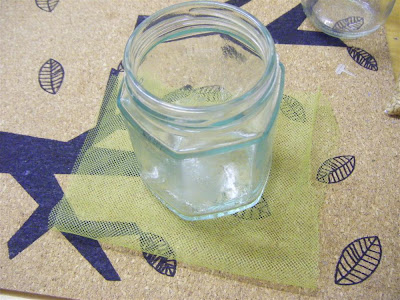
- Jam jars or mason jars. Guess you could also use large yoghurt pots, but you wouldn't be able to see the sprouting process.
- Mesh fabric. Mine came from the remnants bin of Cloth House Soho. You could recycle some net-curtains or use fly screen too.
- Scissors.
- (not pictured) Elastic bands.
- Seeds that have not been heat treated.

Linseed is on the left. It's also know as "golden flax". It's packed full of all sorts of health benefits and hoodoo magic like Omega 3, and it's surprisingly tasty. But don't eat too much, as it's supposedly pretty good at clearing out your pipes.
DON'T TRY TO SPROUT IT- see the update at the end of this section.
DON'T TRY TO SPROUT IT- see the update at the end of this section.
On the right is hemp-seed. In some countries you will not be able to get raw hemp-seed for sprouting because of drug restrictions, despite the fact that it's a separate species from marijuana. In fact, I'm not even sure this will sprout, I forgot to ask a member of staff at Whole Earth. Hemp-seed is high in protein and lots of goodies including antioxidants.
-Cut out a piece of mesh that will cover the top of your jar with room to spare:

-Chuck some seeds in the bottom of your jar. I used 3 teaspoons. I'm not sure how big these will expand and internet sources have told me so many different ratios of seed to space that I decided to go on the cautious side.

-Put the mesh on top and hold in place with an elastic band:

-Check that the mesh doesn't have holes that are big enough for your seeds to escape through:

Hooray! If your seeds fell out everywhere, you'll have to procure another piece of mesh with finer holes.
-Cover the seeds with water and soak for 4-8 hours. Some people soak overnight.

-Tip away the water, and rinse your seeds through the mesh.

You need to repeat this process about 3 times a day. So before you leave the house in the morning, when you get home from work/school, and before bed. If you know you wouldn't be able to rinse them for a sustained period of time (say, 10 hours or more), popping the jar in the fridge will supposedly stop anything going bad.
That's it really, keep rinsing, wait a couple of days and eventually you'll have a tasty crop of sprouts. I'll update when these babies are at munching point!
UPDATE!-
Turns out you can't sprout linseed like this, you just end up with a gross jar of snot, which I would have known if I'd done my damn research. Turns out that linseed is the hagfish of the seed world. You have to sprout them on a tray instead.
UPDATE!-
Turns out you can't sprout linseed like this, you just end up with a gross jar of snot, which I would have known if I'd done my damn research. Turns out that linseed is the hagfish of the seed world. You have to sprout them on a tray instead.
On a related note, did you know you can grind linseed with a hand blender?

This is good to know because without grinding or thorough chewing, your body won't be able to extract the goodies from within. Tonight I tried some of this with honey and it was delicious! Next stop, adding it to proper recipes... I'm thinking my chickpea burgers could do with a boost.
No comments:
Post a Comment